Powrót
Poprzednie
Następne
Wróć do galerii
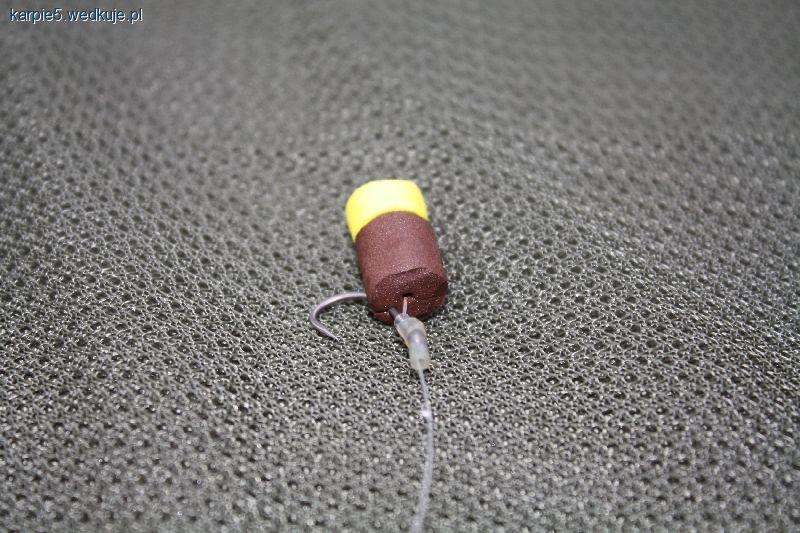
ZIG RIG Część 2
Zdjęcie 6 z 17
Poprzednie
Następne
Udostępnij
Reklama